Create a Meta Vault
A Meta Vault does not run validators. Instead, it delegates assets to other Vaults (sub-vaults) that handle staking. Learn more about Meta Vaults →
Step 1: Select Vault Type
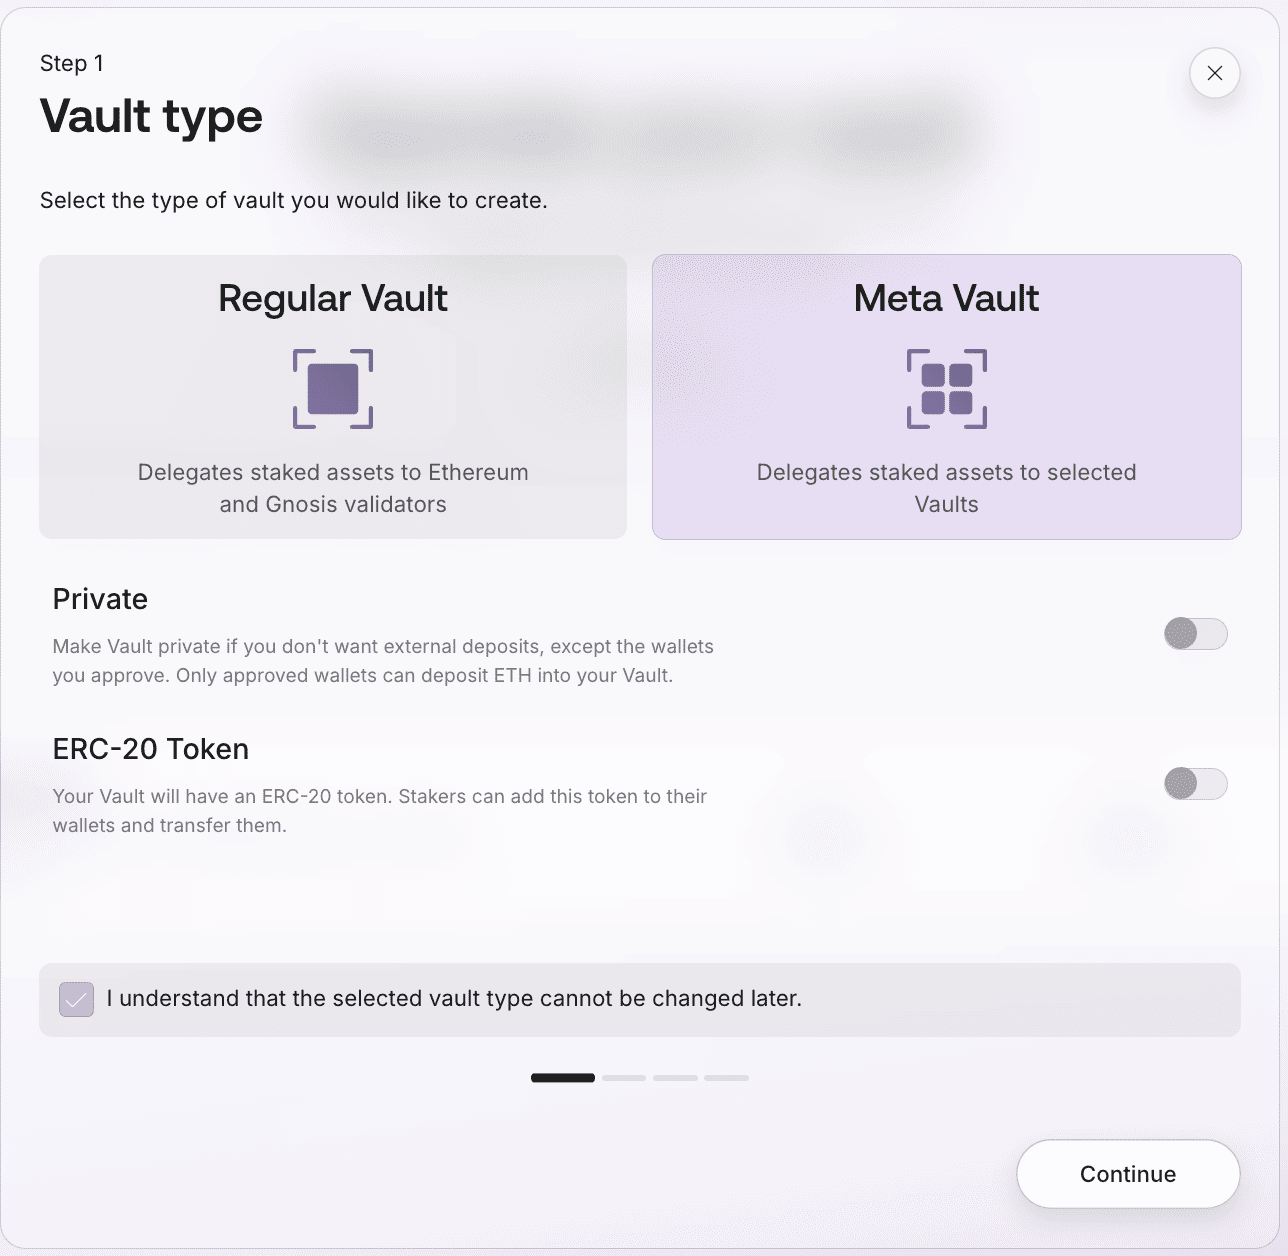
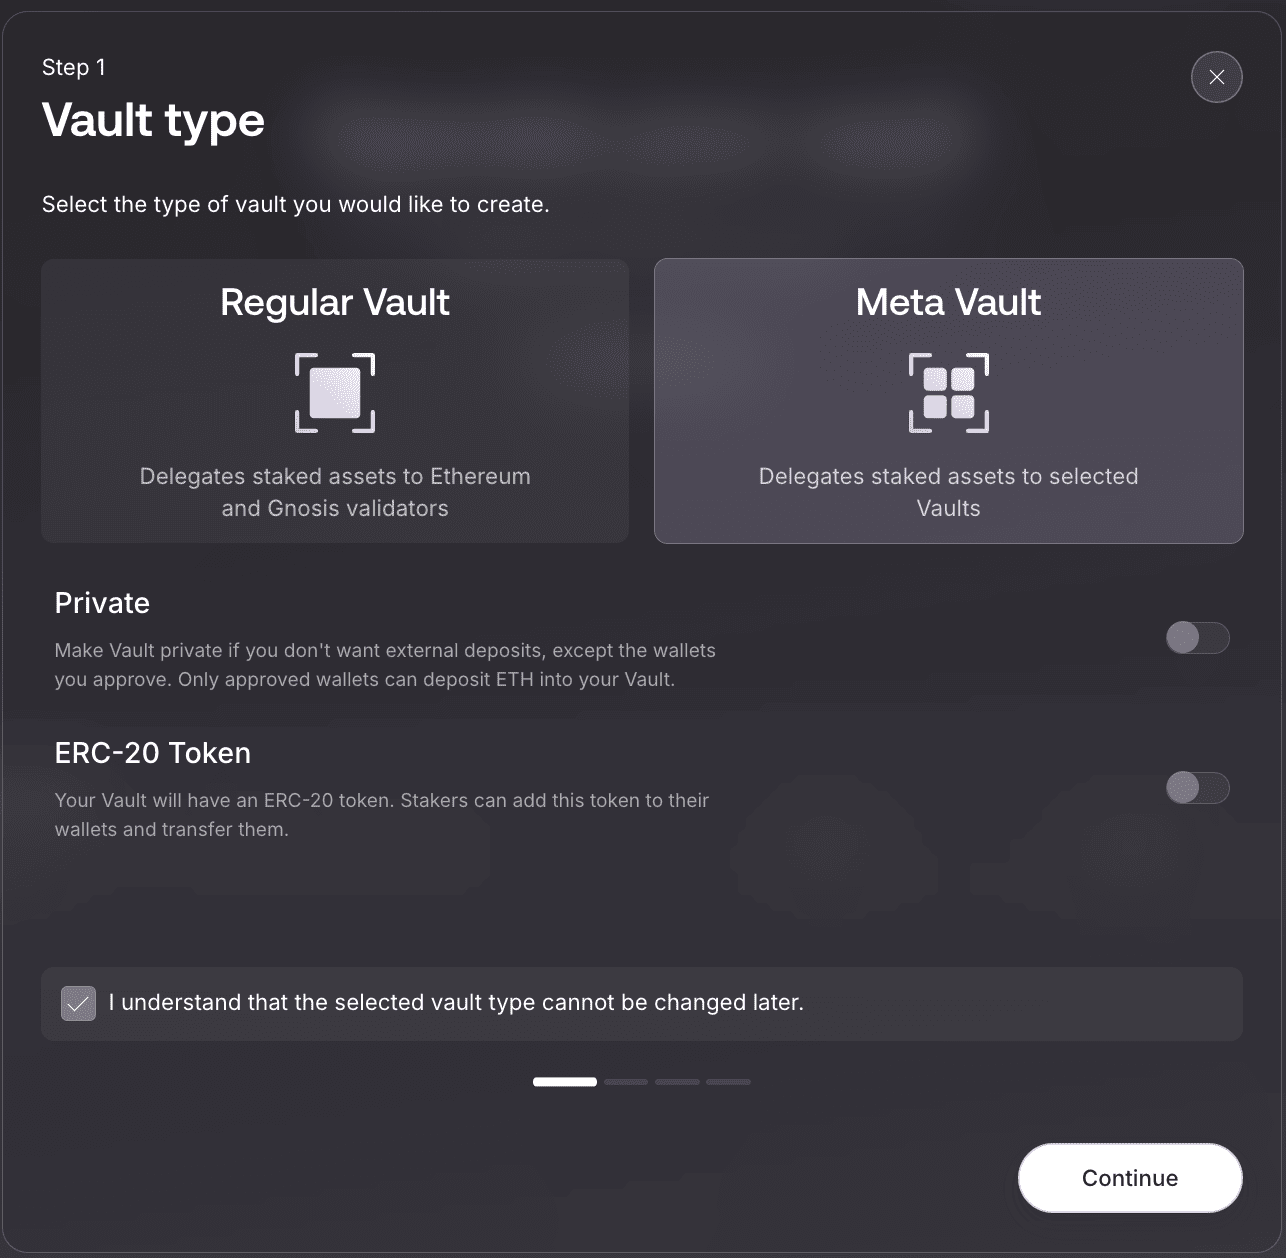
Select Meta Vault. You can optionally enable the following:
 Private — restrict deposits to approved wallets only
 ERC-20 Token — stakers receive a token they can hold in their wallet and transfer to others
 Required Acknowledgment
You must check "I understand that the selected vault type cannot be changed later" before proceeding.
Step 2: Configure Vault Parameters
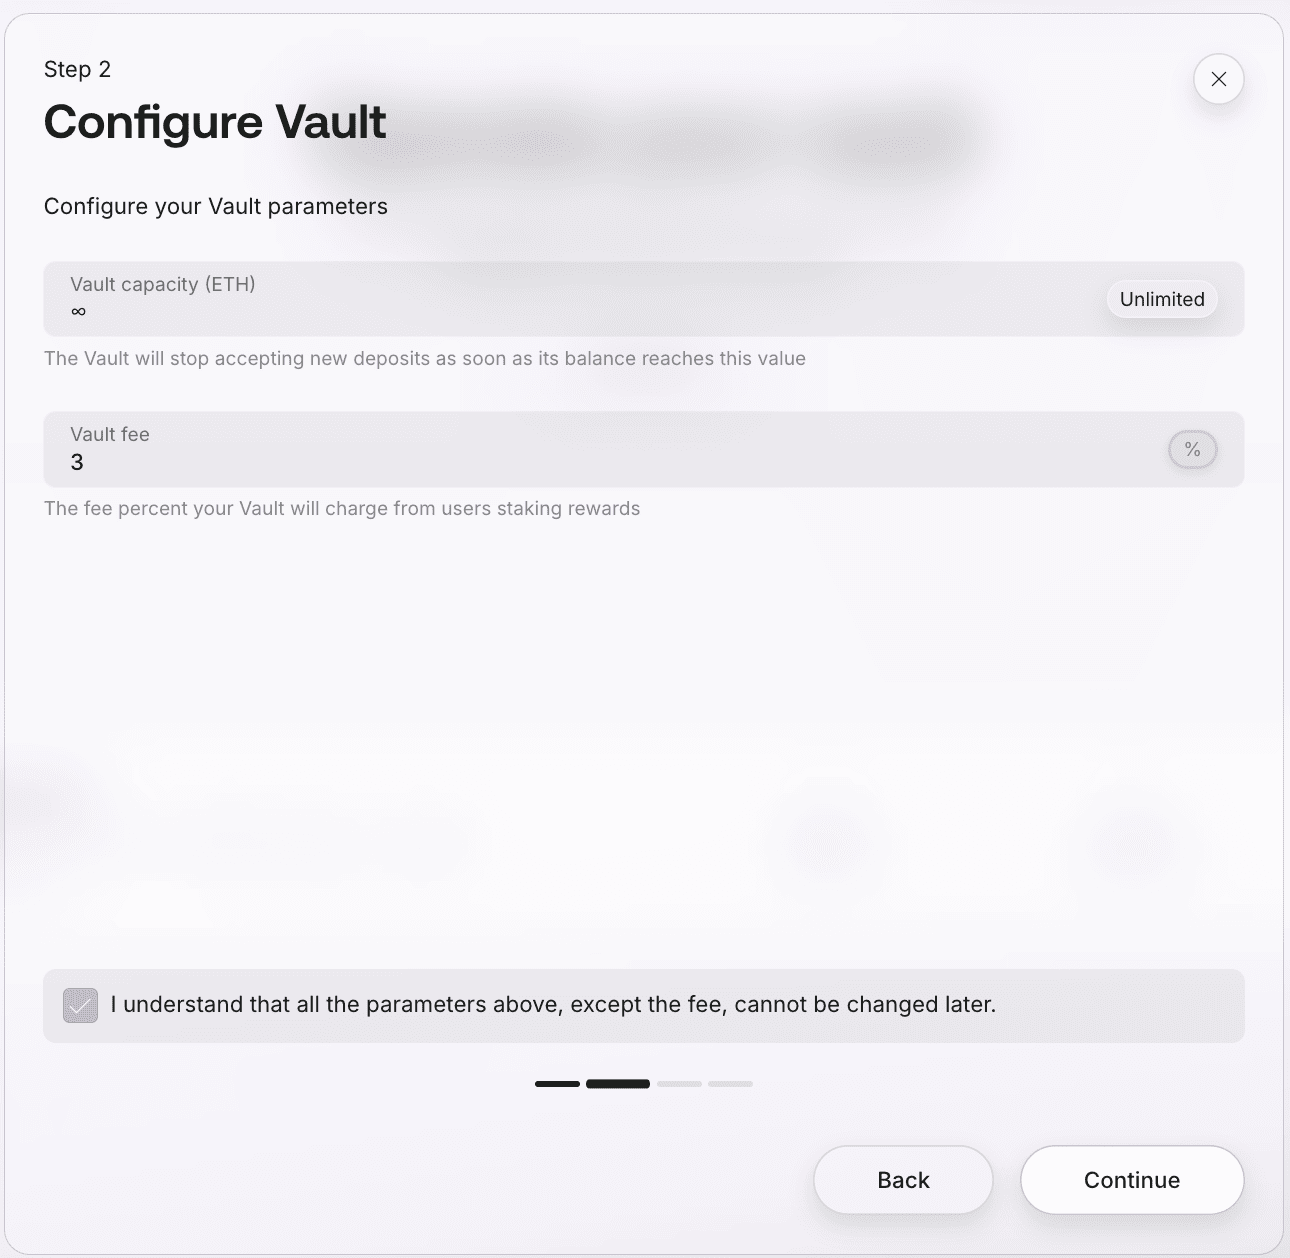
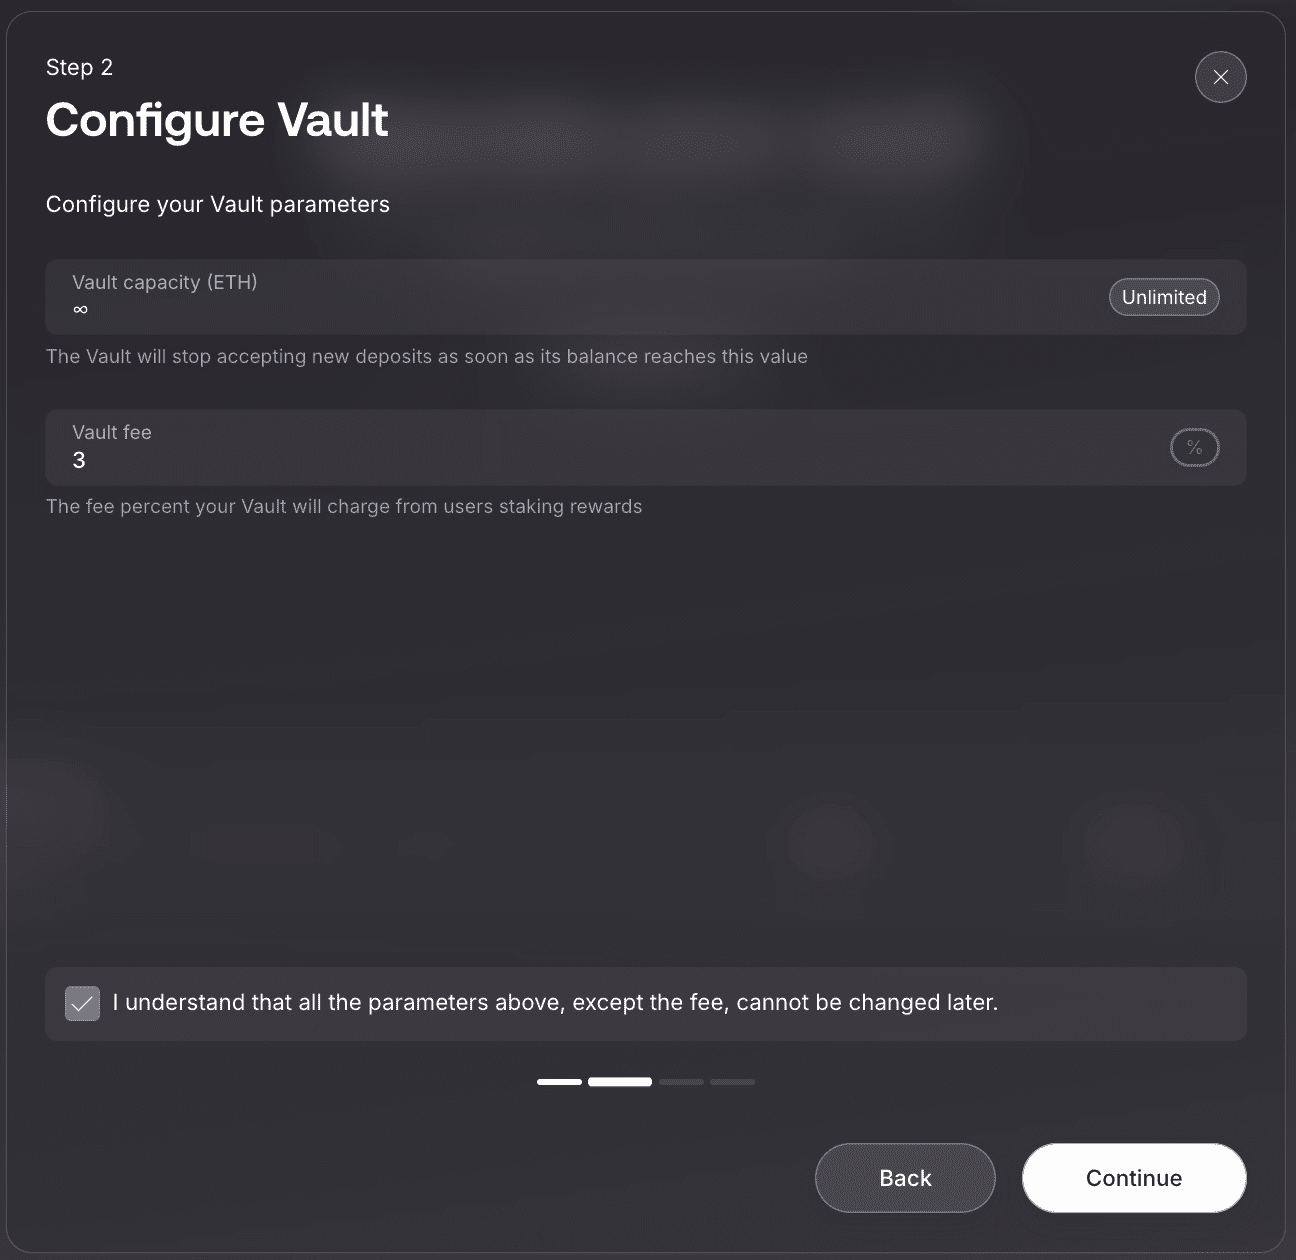
Configure your Vault parameters:
- Vault Capacity – Set maximum ETH capacity (default: unlimited ∞). Learn more →
- Vault Fee – The fee percent your Vault will charge from users' staking rewards.
 Vault Fee
The Vault Fee can be updated after creation. Learn more about fee →
If you enabled the ERC-20 Token in Step 1 →, you will also need to set:
- Token Name – Your Vault ERC-20 token name (e.g. Vitalik Staked ETH)
- Token Symbol – Your Vault ERC-20 token symbol (e.g. vstETH)
Permanent Settings
All parameters above, except the fee, cannot be changed later. Choose carefully before proceeding.
Step 3: Add Branding

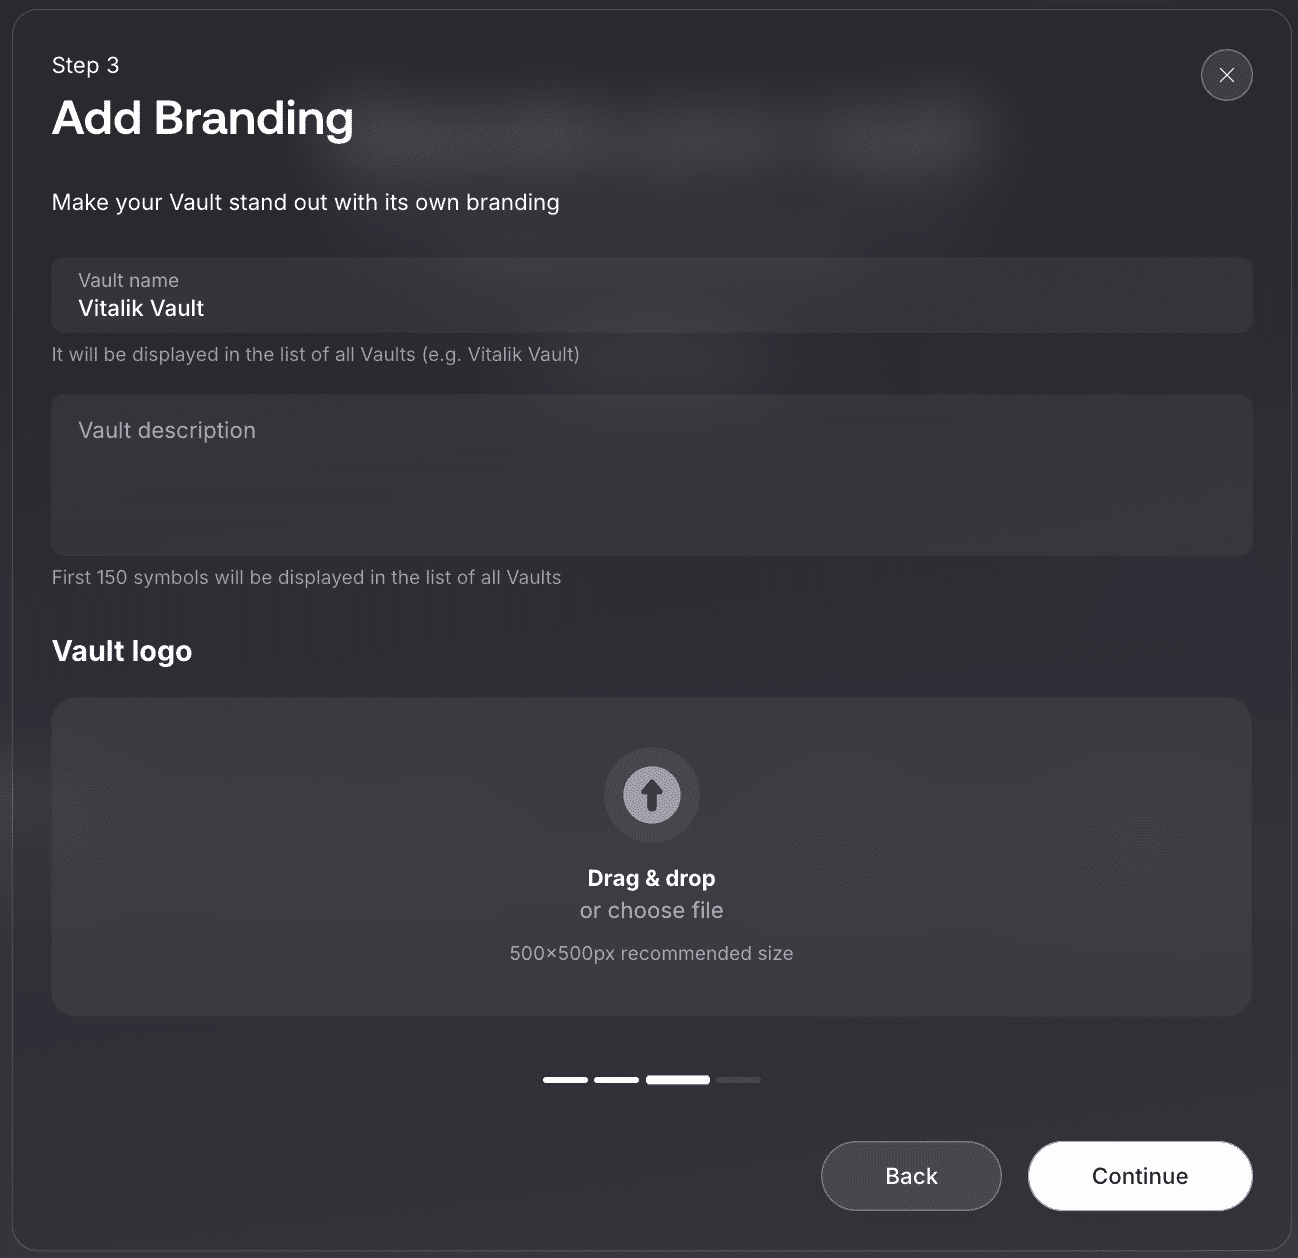
Customize your Vault's appearance with name, description, and logo.
 Branding Can Be Changed Later
Unlike Vault parameters, you can update branding anytime via your Vault interface: press Settings → Branding → Edit → Save.
Step 4: Summary
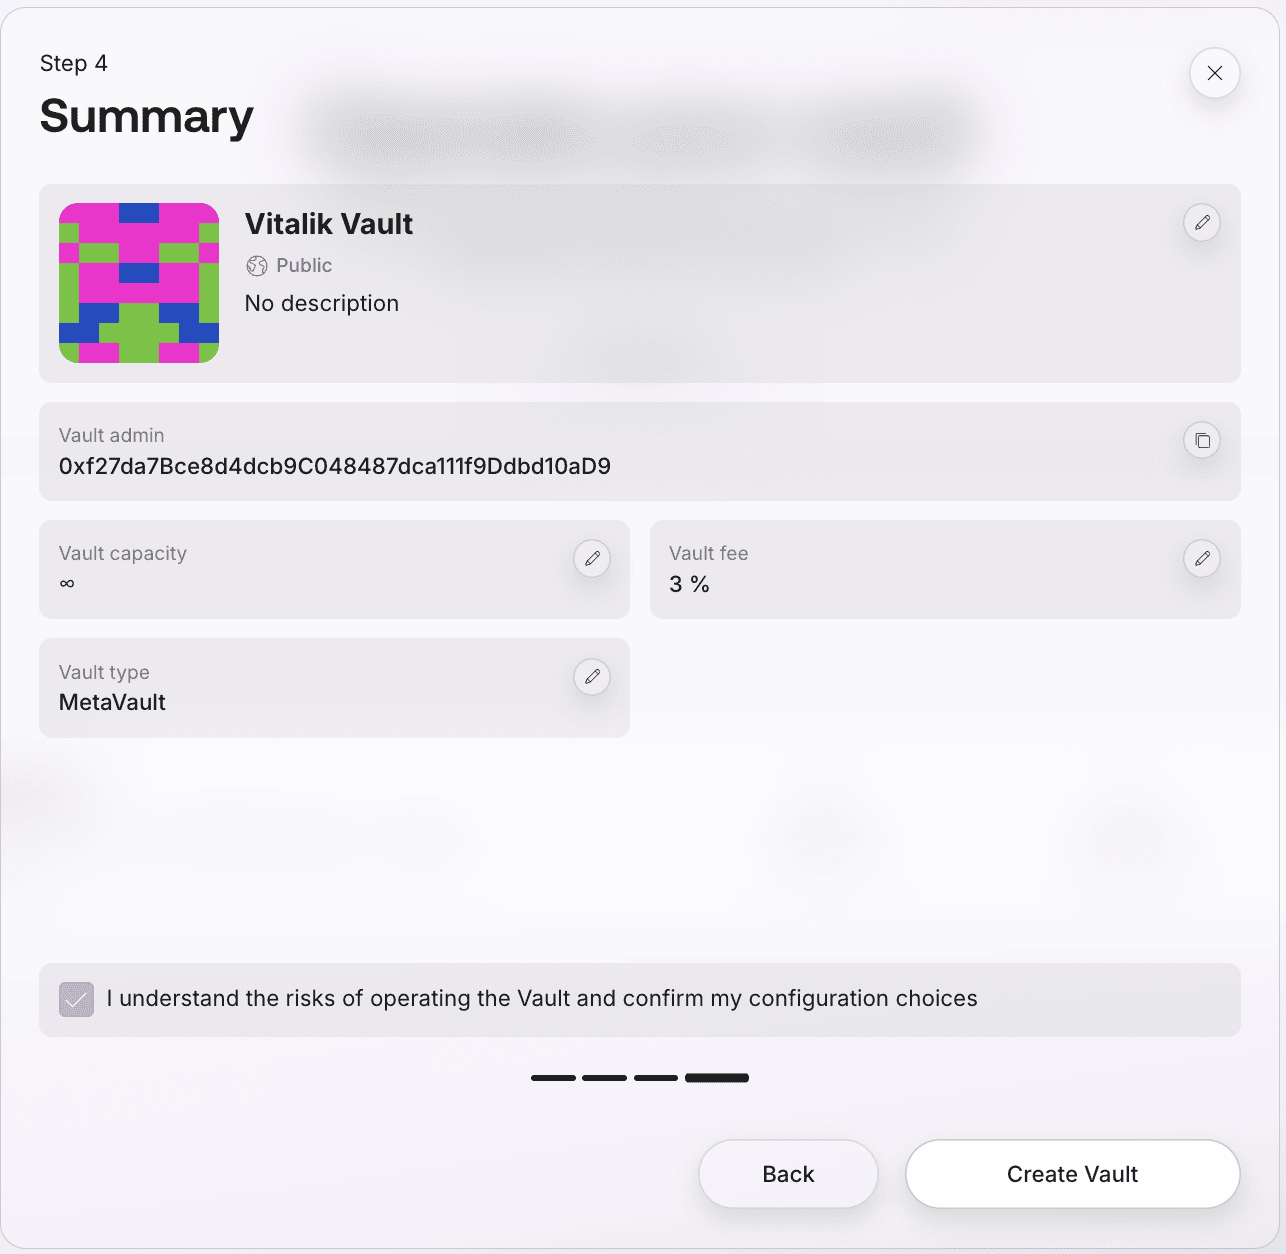
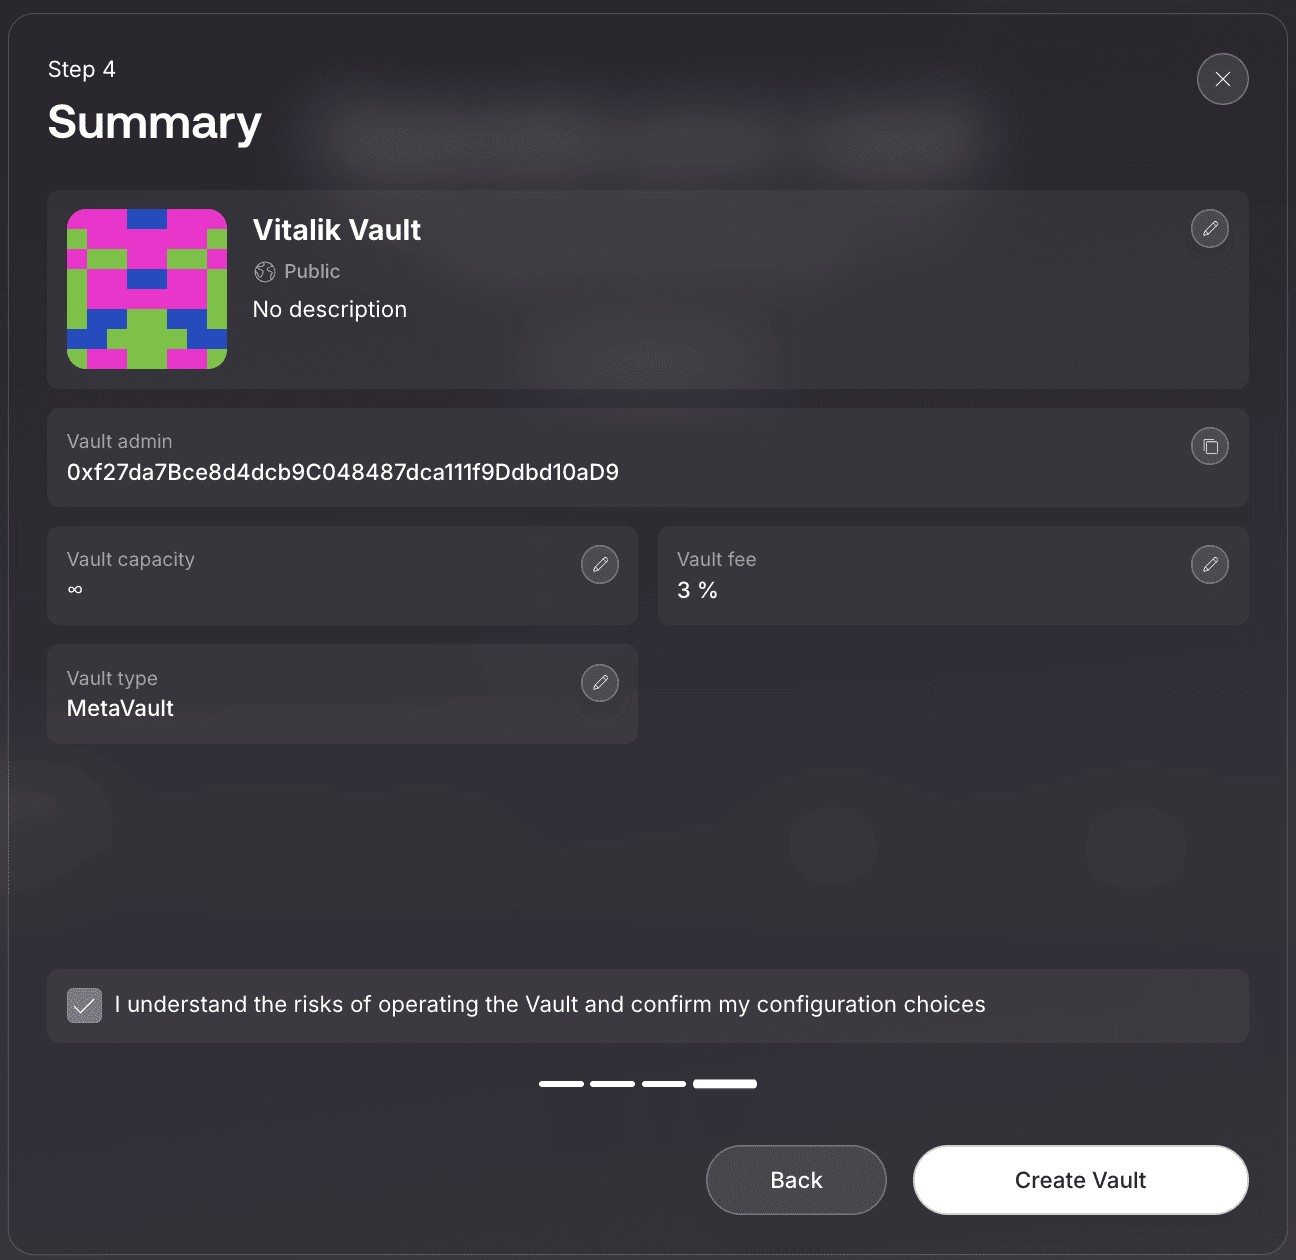
Review all your settings before final submission. This is your last chance to verify everything is correct, such as name, capacity, fees, and type.
Risk Acknowledgment
You must check "I understand the risks of operating the Vault and confirm my configuration choices" before proceeding.
Click Create Vault to submit your configuration and create the Vault.
Step 5: Transaction Confirmation
Confirm the transaction in your wallet to deploy your Vault. Once the transaction confirms, your Vault is live and visible on the Operate page! 🎉
Step 6: Add Sub-vaults
To start accepting deposits, connect at least one sub-vault via the StakeWise UI:
- Go to the Operate page and open your Meta Vault
- Click Sub-vaults
- Paste the regular Vault's address or select it from the dropdown
- Confirm the transaction in your wallet
A sub-vault must have at least one active validator before it can be added. If your sub-vault is private, you must first whitelist your Meta Vault's contract address in the sub-vault's Settings → Vault access.
To update states and process deposits and exits, set up the process-meta-vaults Operator Service command. See Process Meta Vaults → for details.
Next Steps
Manage Vault settings – Update branding, adjust fees, and assign roles in Vault Administration →
Reach out to the StakeWise team for Vault verification (better visibility and trust with potential stakers)